The Ultimate Guide to Sheetrock Repair and Wall Painting Excellence Apr 02, 2026
Starting with sheetrock repair, it's crucial to address minor blemishes and significant damage alike, as both can affect your home's overall appearance and integrity. Sheetrock, also known as drywall, is susceptible to various forms of damage such as cracks, holes, and water damage. Identifying these issues early is key to preventing larger, costlier repairs down the line.
Once you've pinpointed the problem areas, the next step is preparation. This involves cleaning the surface thoroughly to remove any dust or grease that could interfere with repair products adhering correctly. It's important to use a damp cloth for this task and allow the surface to dry completely before proceeding. Depending on the extent of the damage, a variety of repair techniques will be applicable. For small holes or minor cracks, spackling paste or a patch kit might suffice, but larger damage could require replacing entire sections of sheetrock.
Following a successful sheetrock repair, the focus shifts to wall painting. Painting is not only about choosing a color; it encompasses preparation, priming, and technique. To ensure a lasting and beautiful paint job, start by selecting high-quality paint that will endure the test of time. Raw Paintings recommends using paints with a good balance of color richness and durability.
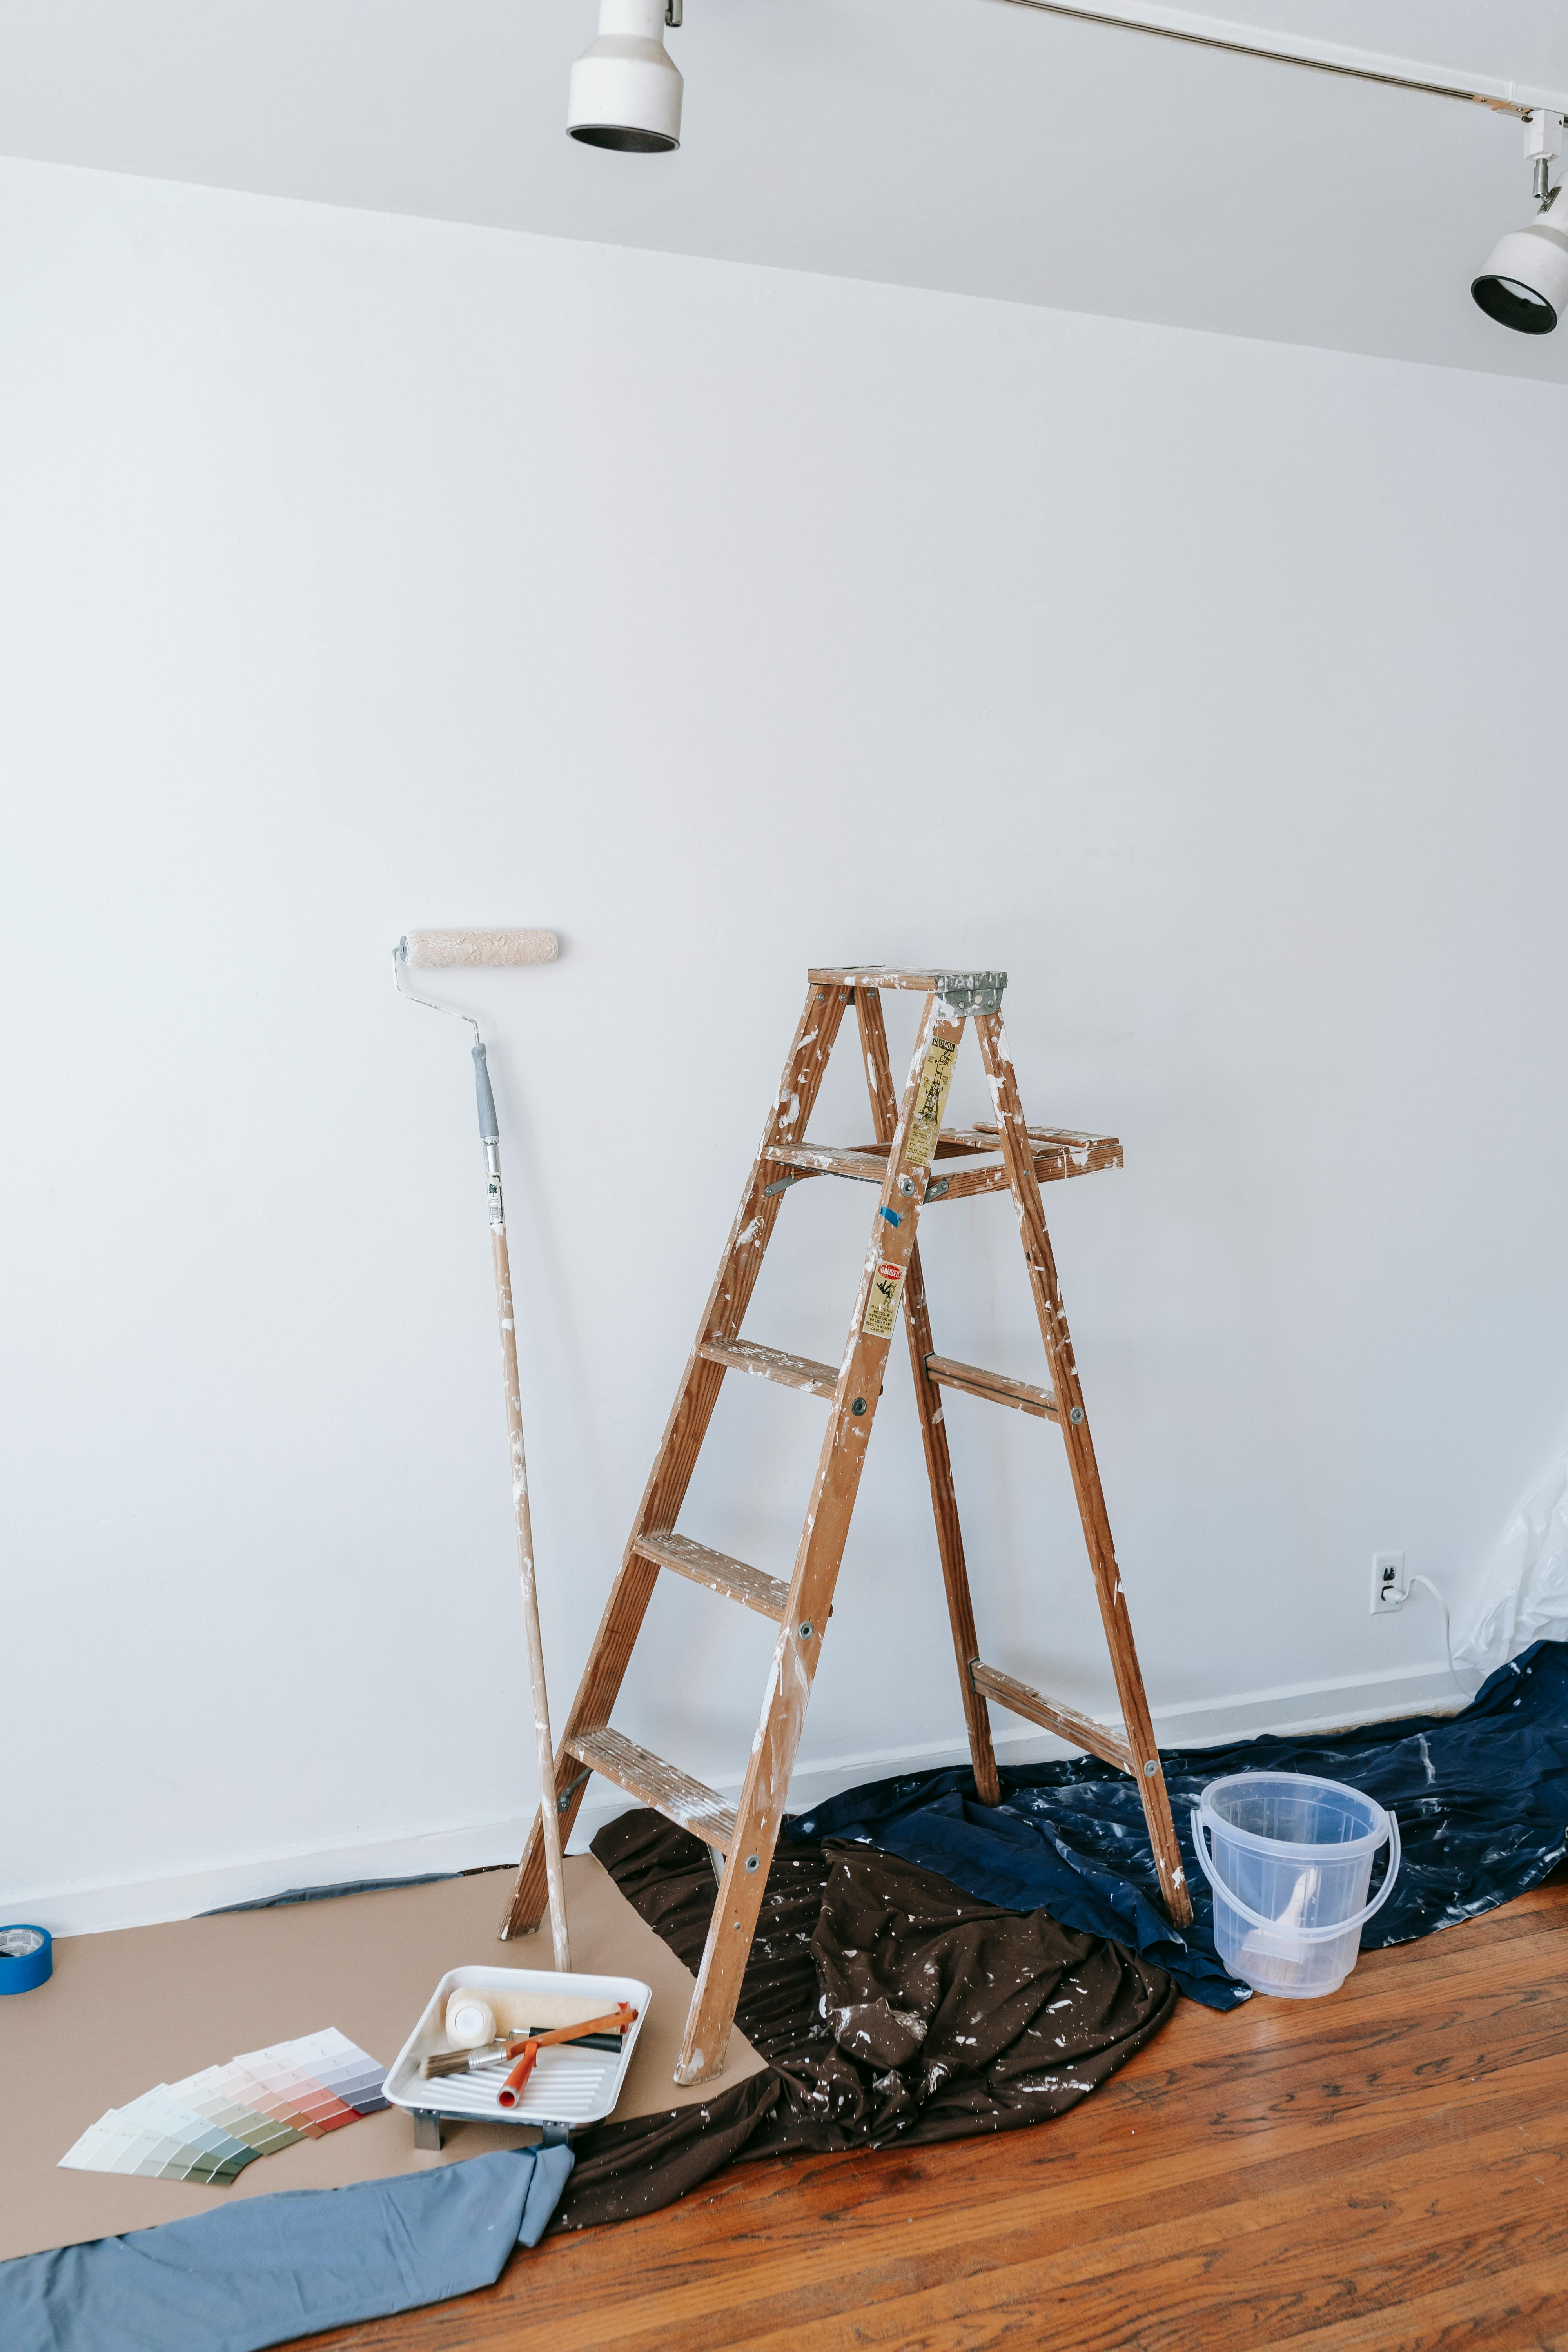
Preparation for painting is as essential as the painting itself. Start by taping off areas that should remain paint-free, such as trim, fixtures, and ceilings. Sand the newly repaired sheetrock sections lightly to ensure a smooth and even surface, which will help the paint adhere well and appear even across the walls. After sanding, apply a primer coat. Priming is a vital step often brushed off, but it significantly enhances the adhesion of the paint, reduces the number of coats necessary, and improves the wall's uniformity.
The actual paint application requires careful attention to technique. For best results, begin by painting along the edges with a brush to create clean lines. Once the outlining is complete, use a roller for larger, more open areas. Ensure even strokes to prevent visible roller marks and drips, focusing on one section of the room at a time. Allow each coat to dry thoroughly before applying another to avoid mixing pigments and affecting the color's final appearance.
Finally, once your walls are painted and the paint has dried completely, it’s time to appreciate your hard work. Not only does it enhance the aesthetic appeal of your home, but it also adds value and longevity. To maintain your walls' pristine condition, Raw Paintings, Sheetrock Repairs and Cleaning recommends regular cleaning and close attention to any emerging repair needs.
In conclusion, mastery of sheetrock repair and wall painting requires patience, precision, and the right materials. With these expert tips from Raw Paintings, achieving wall painting excellence and durable sheetrock repairs is within any homeowner's reach. Whether undertaking a small repair or a full-room makeover, these practices serve as a foundation for success. For tasks that require professional expertise or for those seeking impeccable results quickly, consulting with seasoned professionals like those at Raw Paintings can ensure an optimal outcome.
/filters:no_upscale()/filters:format(webp)/media/ca671576-742b-4c31-98f2-40f7674ec3ae.jpg)